Installing and Configuring Netbird to Link Servers
Netbird is an open-source platform based on WireGuard that allows you to easily create secure private networks. In this guide, we will walk through how to install and configure Netbird to link your Remnawave panel and nodes so they can communicate securely with each other.
Registering on Netbird
Section titled “Registering on Netbird”-
Open your browser and go to the following link.
Terminal window https://app.netbird.io/ -
Create an account.
-
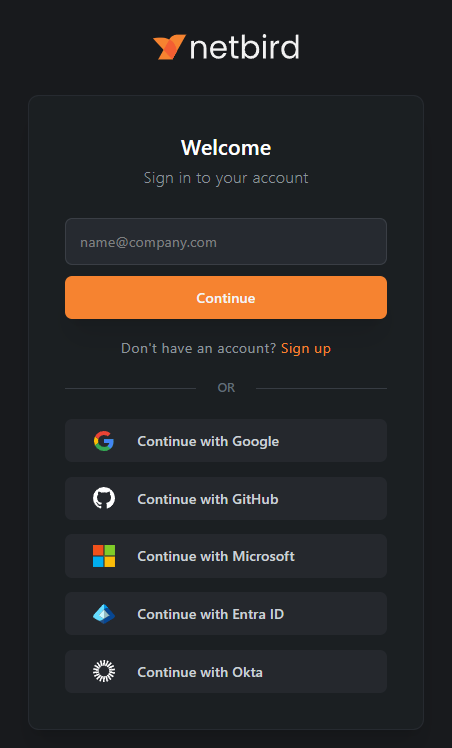
Click
Sign Up. Choose a registration method: via email, Google, GitHub, or Microsoft. -
Fill in the fields (email, password) and confirm your registration via the email you receive.
-
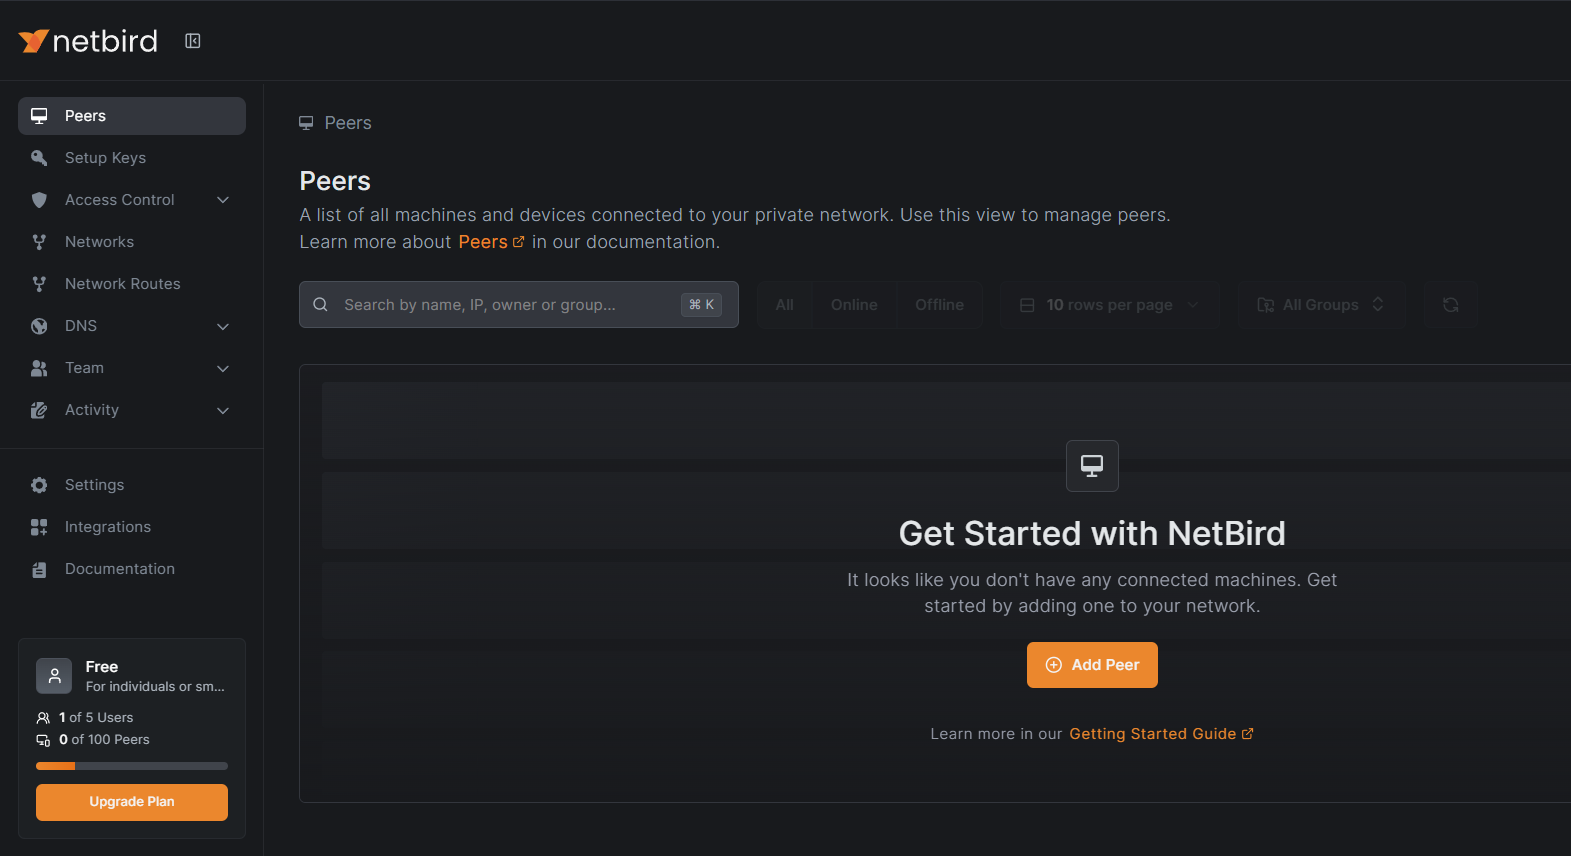
After this, you will be taken to the Netbird Dashboard.
Creating and Configuring a Setup Key
Section titled “Creating and Configuring a Setup Key”-
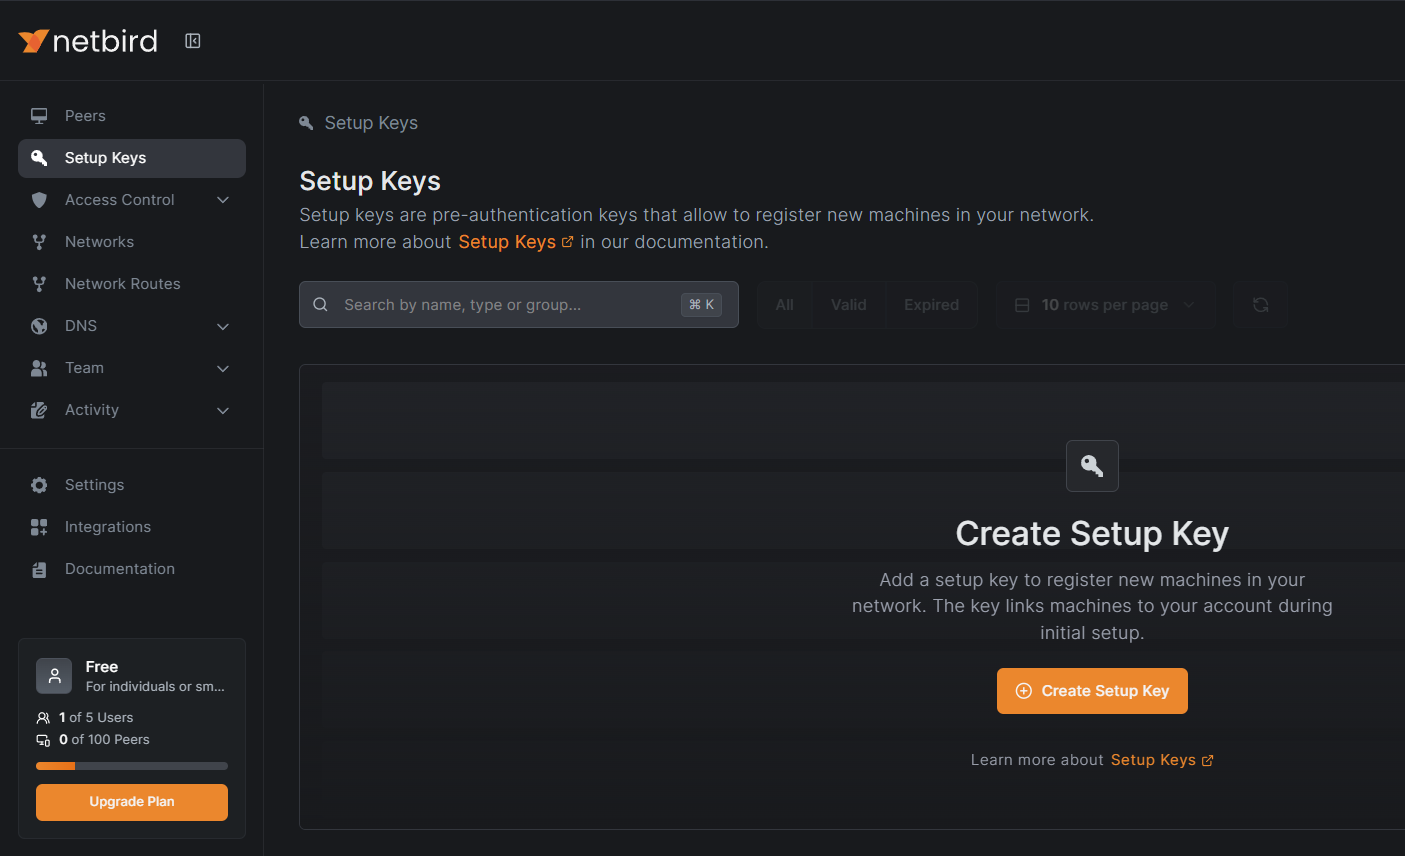
Go to the Setup Keys section. Click the Create Setup Key button.
-
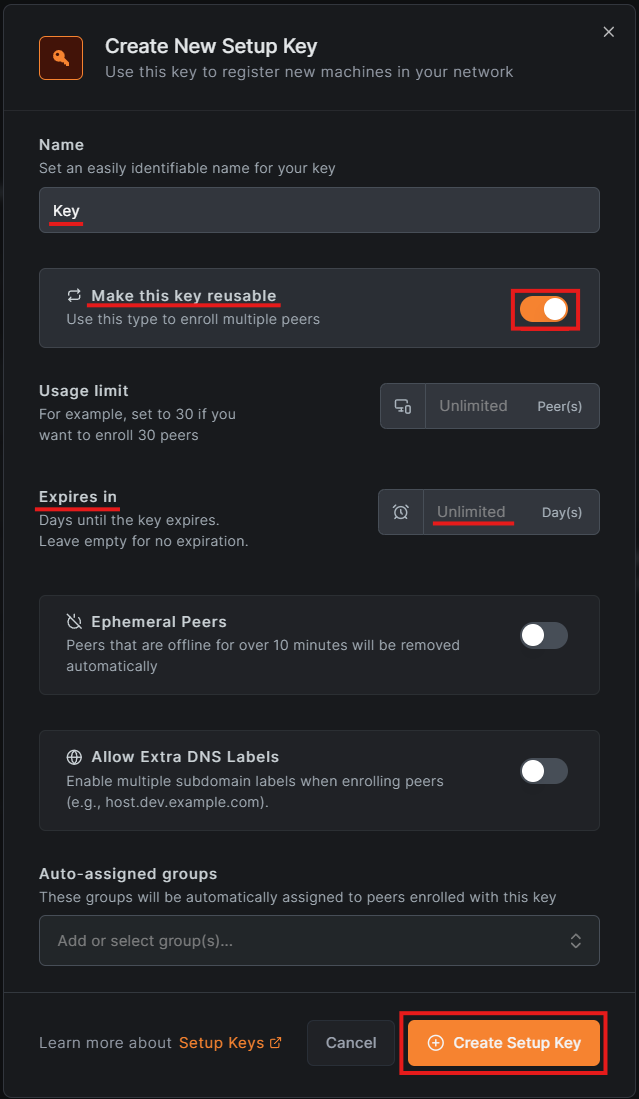
Create the key.
-
Enter a name for the key (e.g.,
Key). -
Enable the
Make this key reusableslider so the key can be used for multiple servers (up to 30 peers). -
Set
Expires intoUnlimitedso the key does not expire. -
Click
Create Setup Key. -
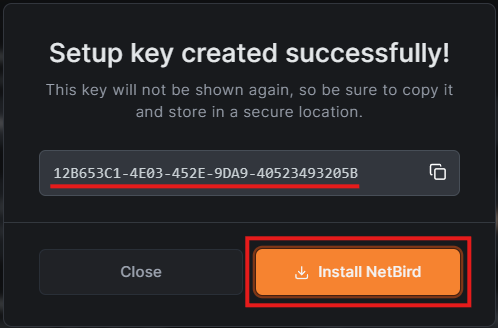
Save your key. A window will appear with the generated key. Copy the key and save it in a safe place for future use.
Installing Netbird on the Panel Server Remnawave
Section titled “Installing Netbird on the Panel Server Remnawave”-
Click the
Install Netbirdbutton. A window with installation instructions will open.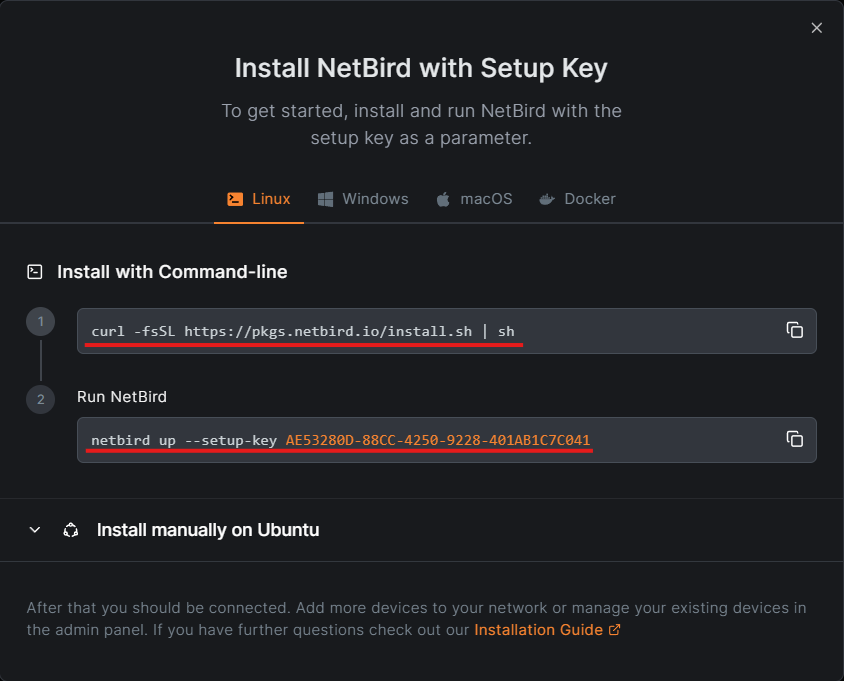
-
Install Netbird on the Remnawave panel server. Run the command to install Netbird:
Terminal window curl -fsSL https://pkgs.netbird.io/install.sh | sh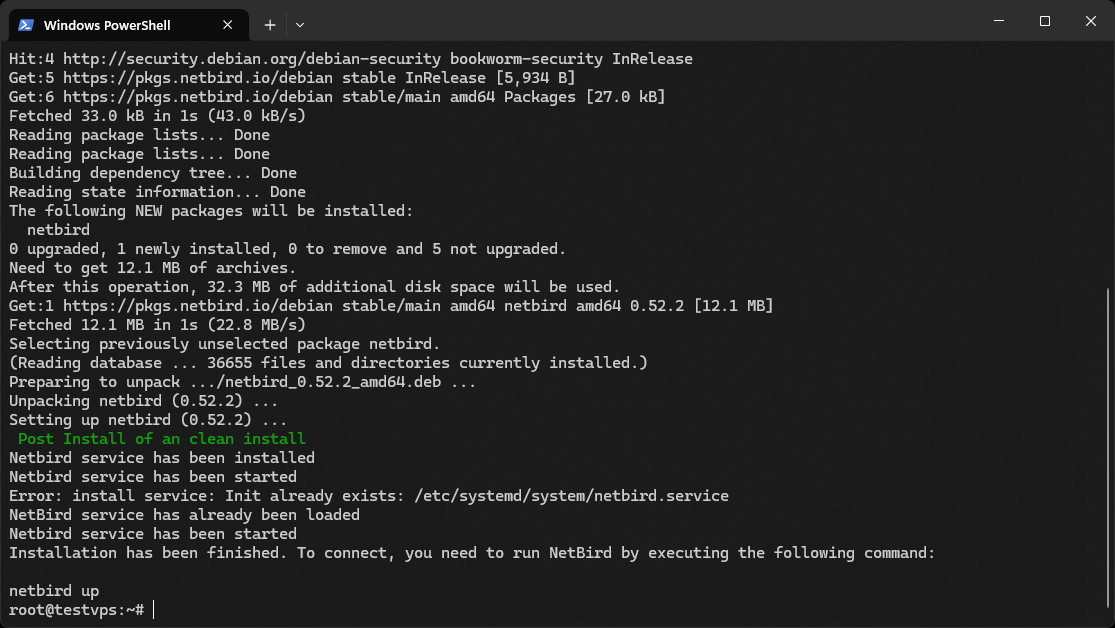
-
Launch Netbird with the key you copied earlier. Execute the command to connect using the saved key (you will have your own key):
Terminal window netbird up --setup-key AE53280D-88CC-4250-9228-401AB1C7C041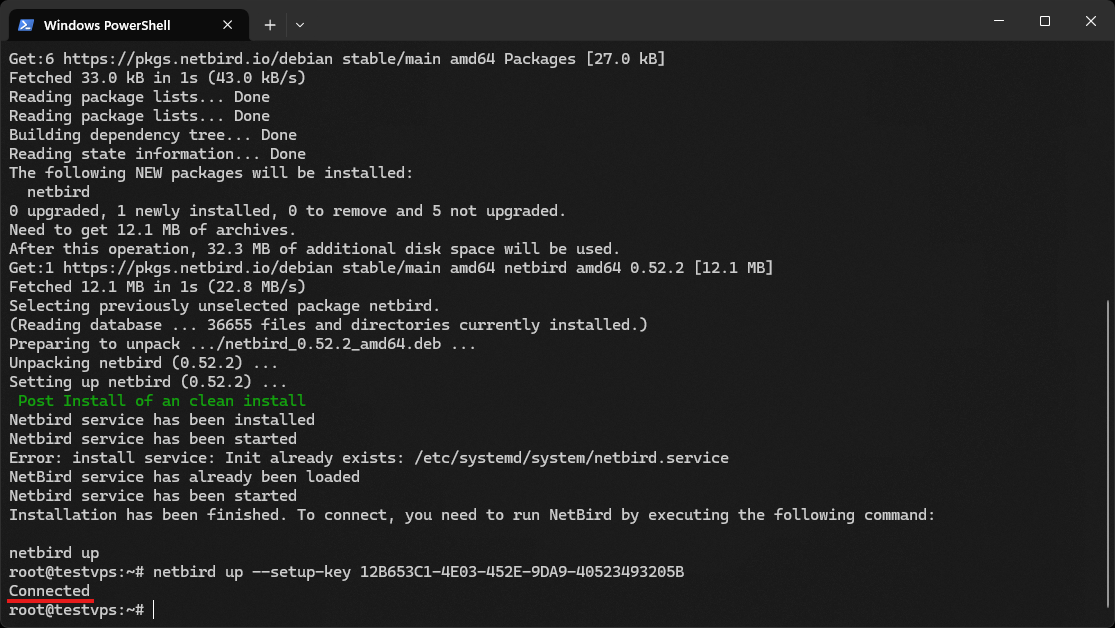
-
Wait for the
Connectedmessage, indicating a successful connection.
Verifying the Connection
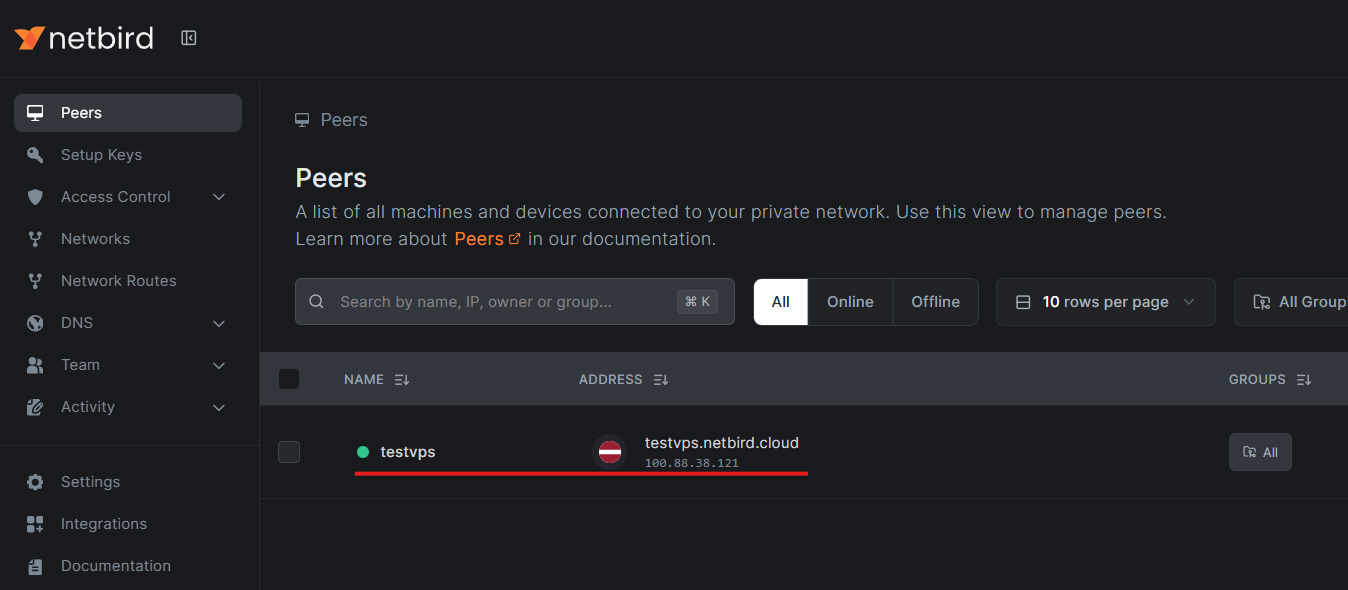
Section titled “Verifying the Connection”Return to the Dashboard and go to the Peers section.
Ensure that the Remnawave panel peer is shown as connected.
Installing Netbird on the Node Server Remnawave
Section titled “Installing Netbird on the Node Server Remnawave”Follow the same installation steps as on the panel server.
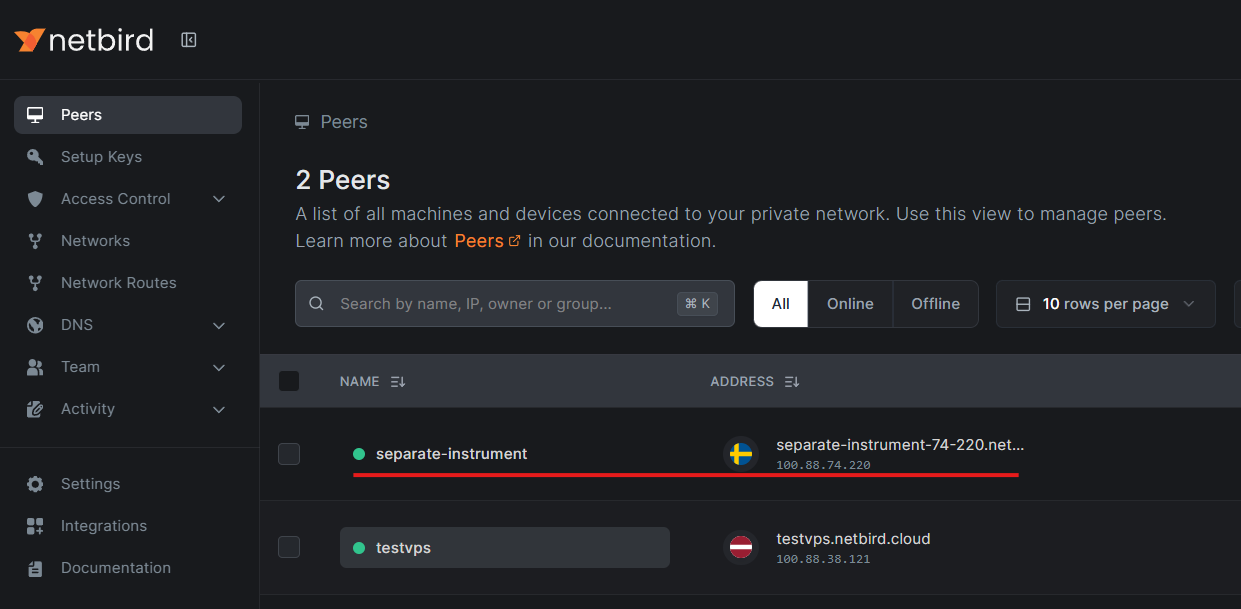
Return to the Dashboard Netbird and go to the Peers section. Ensure that the node peer is shown as connected.
Configuring the Firewall (UFW) on the Node Server
Section titled “Configuring the Firewall (UFW) on the Node Server”In the Netbird Dashboard, find the Netbird IP address of the panel Remnawave (in our case, it’s 100.88.38.121; yours may be different). Run the command to open port 2222 (TCP) for this IP:
ufw allow from 100.88.38.121 to any port 2222 proto tcpReload the firewall:
ufw reloadConfiguring IP adress Netbird in the Remnawave Panel
Section titled “Configuring IP adress Netbird in the Remnawave Panel”-
Go to your Remnawave panel, navigate to
Nodes→Manage. -
Select the node where Netbird is installed.
-
In the
Addressfield, enter the Netbird IP address of the node (in our case, it’s 100.88.74.220; yours may be different).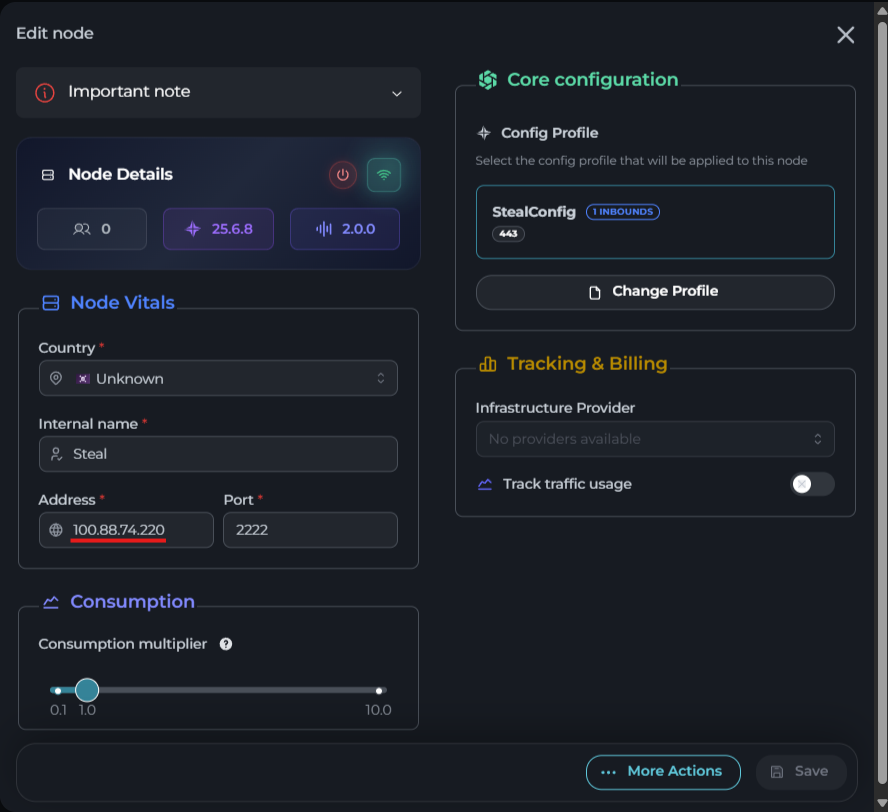
Click the
Savebutton.
Verifying the Connection
Section titled “Verifying the Connection”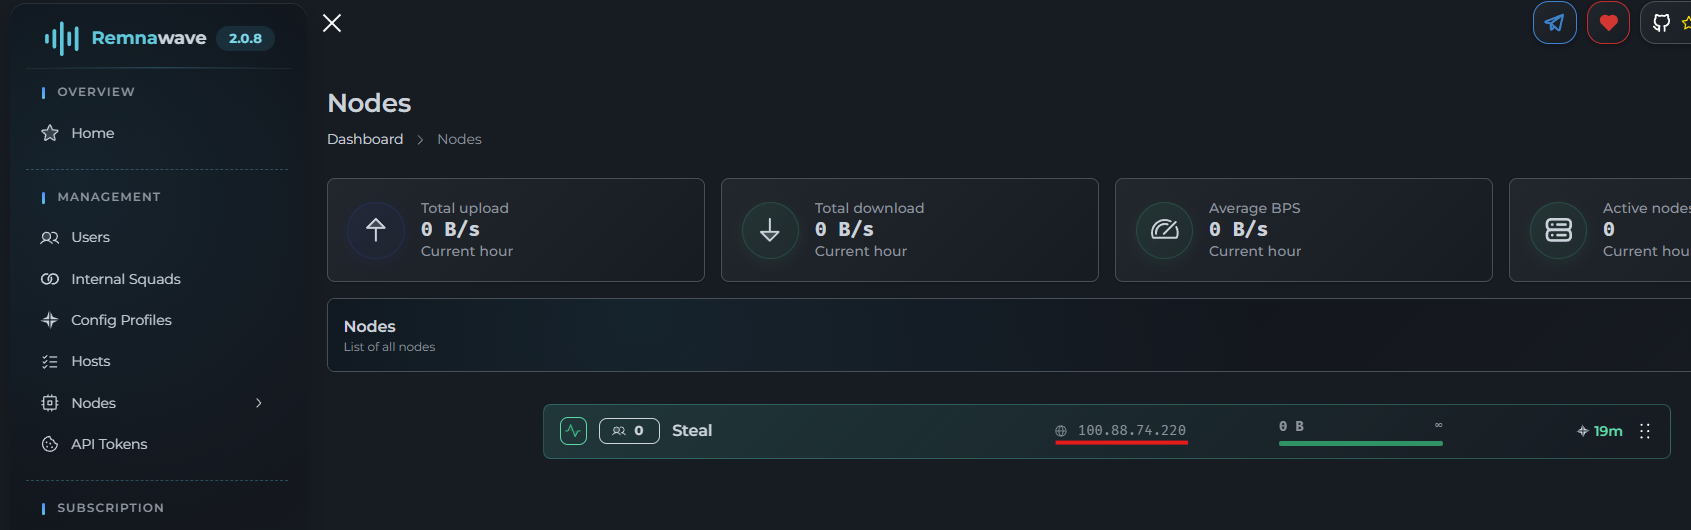
The node is now connected to the Remnawave panel via Netbird. Ensure that the connection between the panel and the node is working (e.g., check access via IP with ping or SSH).
Summary
Section titled “Summary”- Your Remnawave panel and the node server are now linked through a secure Netbird tunnel.
- You can use this channel for secure data exchange or to manage the node via port 2222.
- Netbird simplifies setup and provides high security through WireGuard.